Preparation for the first start of a pit bike
It is essential to inspect all points before the first engine start.
1. Inspection and Adjustment of Valve Clearance
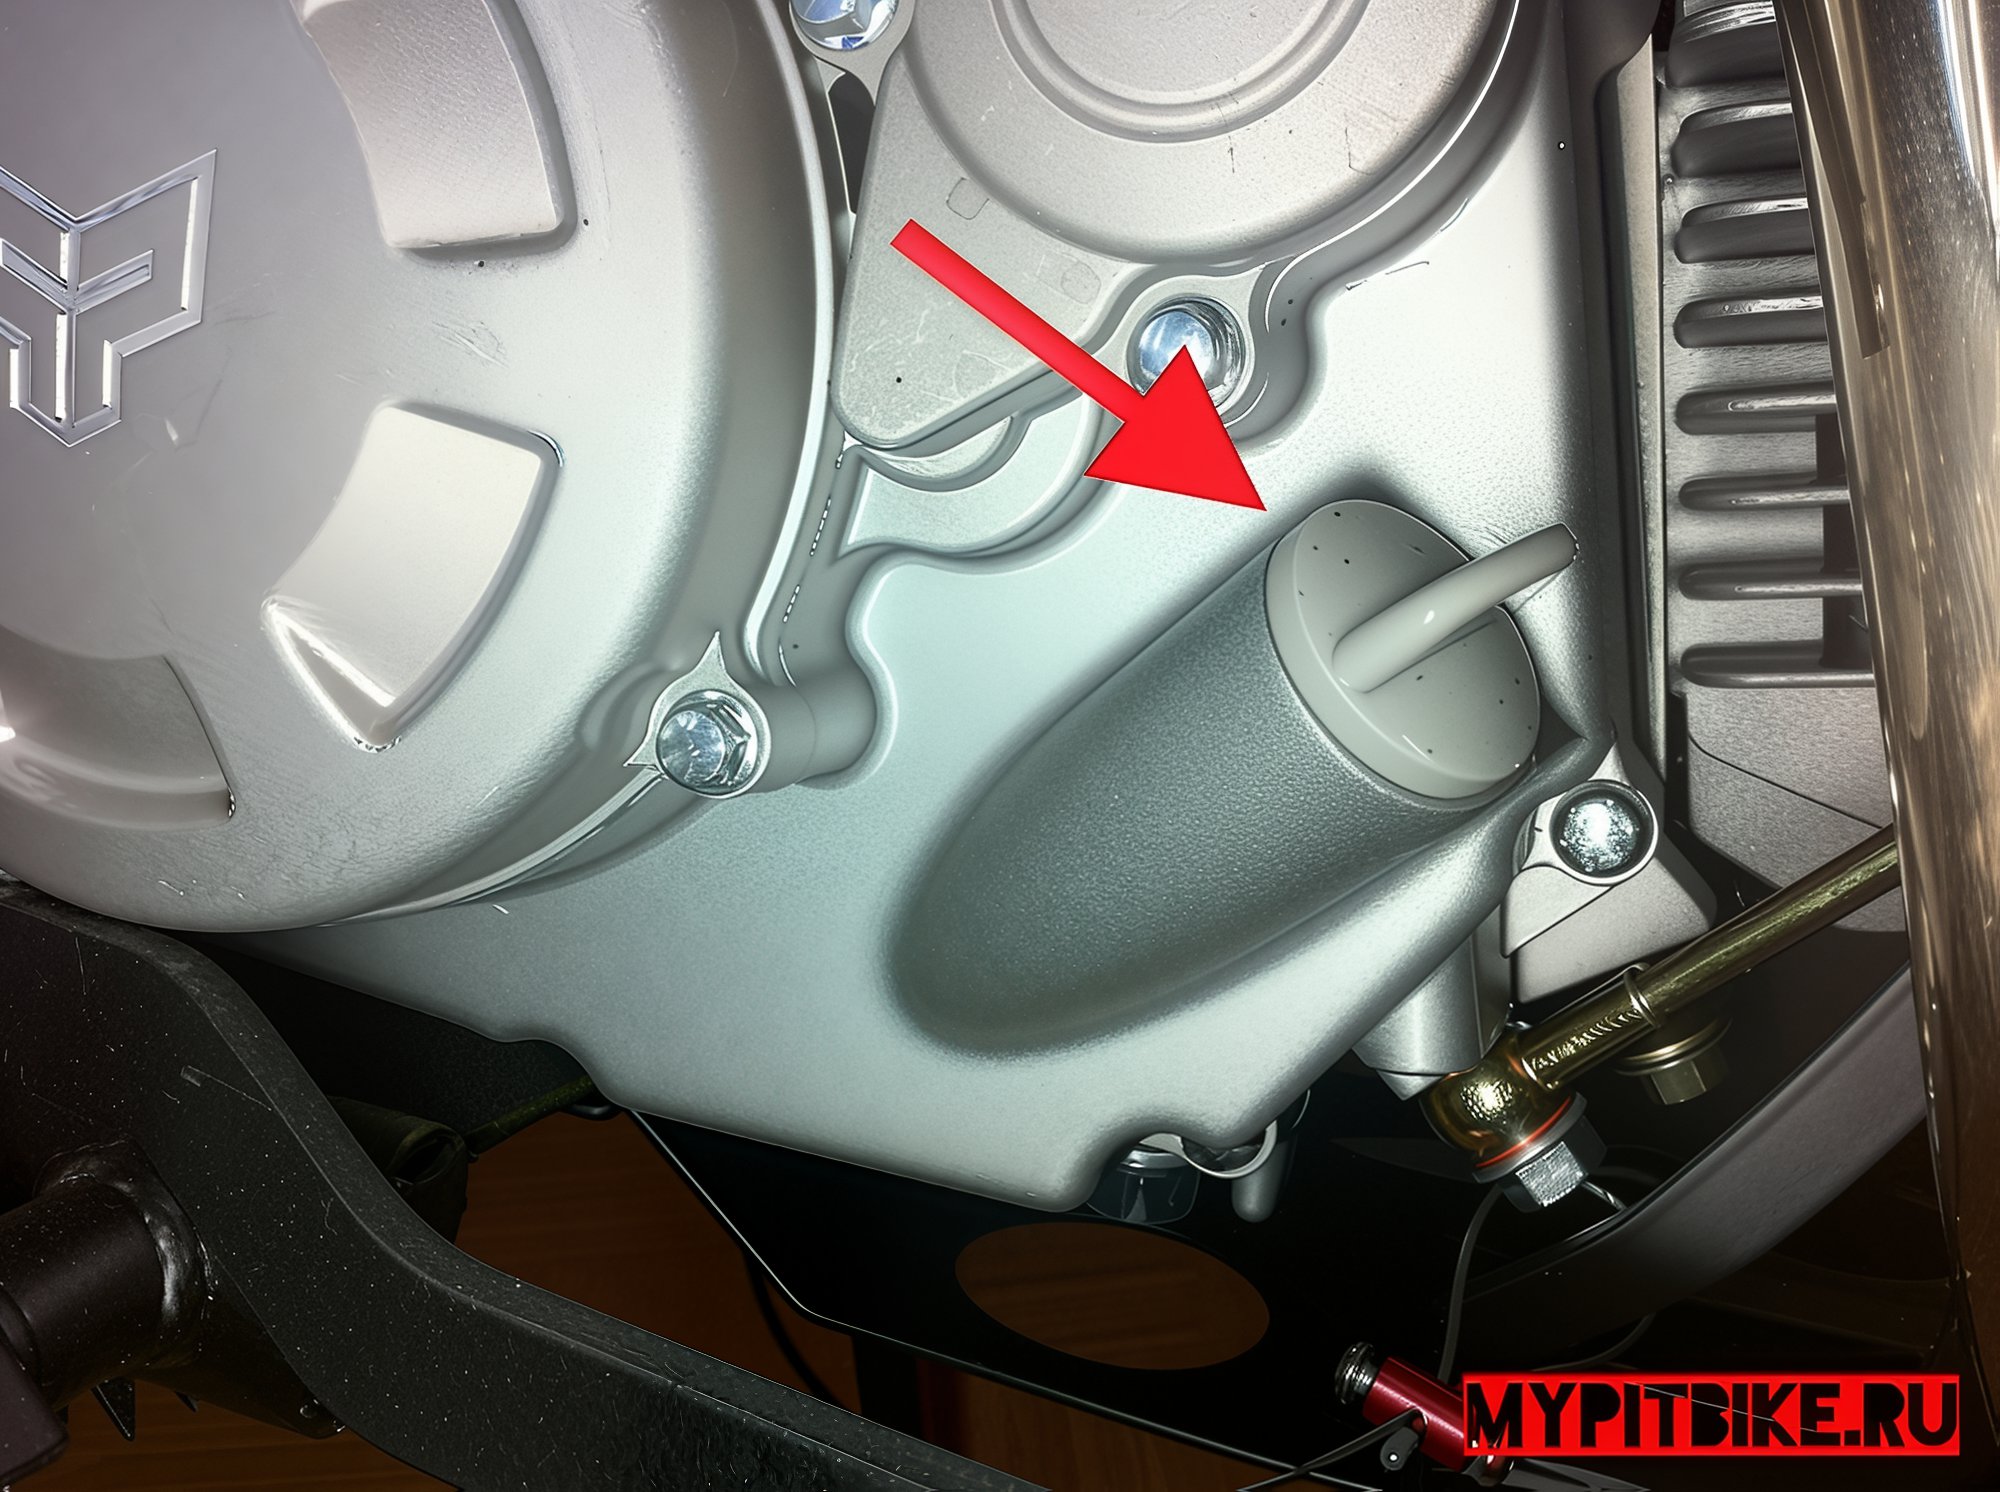
Note Remove the generator cover on the left side of the engine (it has a black wire coming out, without any oil inside), unscrew the spark plug, and remove the small round cover on the left side of the cylinder head (below it is the cam sprocket and timing chain). Next, rotate the generator bell to align the TDC marks on the generator and the crankcase. Simultaneously, the marks (typically a circle) on the cam sprocket and the cylinder head casing should also align. If the marks do not align (which is exceedingly rare), unscrew the three bolts fastening the cam sprocket and adjust the chain such that the marks on the cylinder head and generator align.
Once the TDC marks are aligned correctly, proceed to inspect and adjust the valve clearance. For specific valve clearance specifications for your engine, consult the dealer from whom you purchased your pit bike or refer to the user manual.
Valid for engines installed on Stomp motorcycles
- Intake Valve (top) – Clearance 0.15 mm
- Exhaust Valve (bottom) – Clearance 0.15 mm
Valid for Lifan engines and similar, 140cc capacity
- Intake Valve (top) – Clearance 0.03” (0.08 mm)
- Exhaust Valve (bottom) – Clearance 0.04” (0.10 mm)
Verify the valve clearances for your engine with the manufacturer!
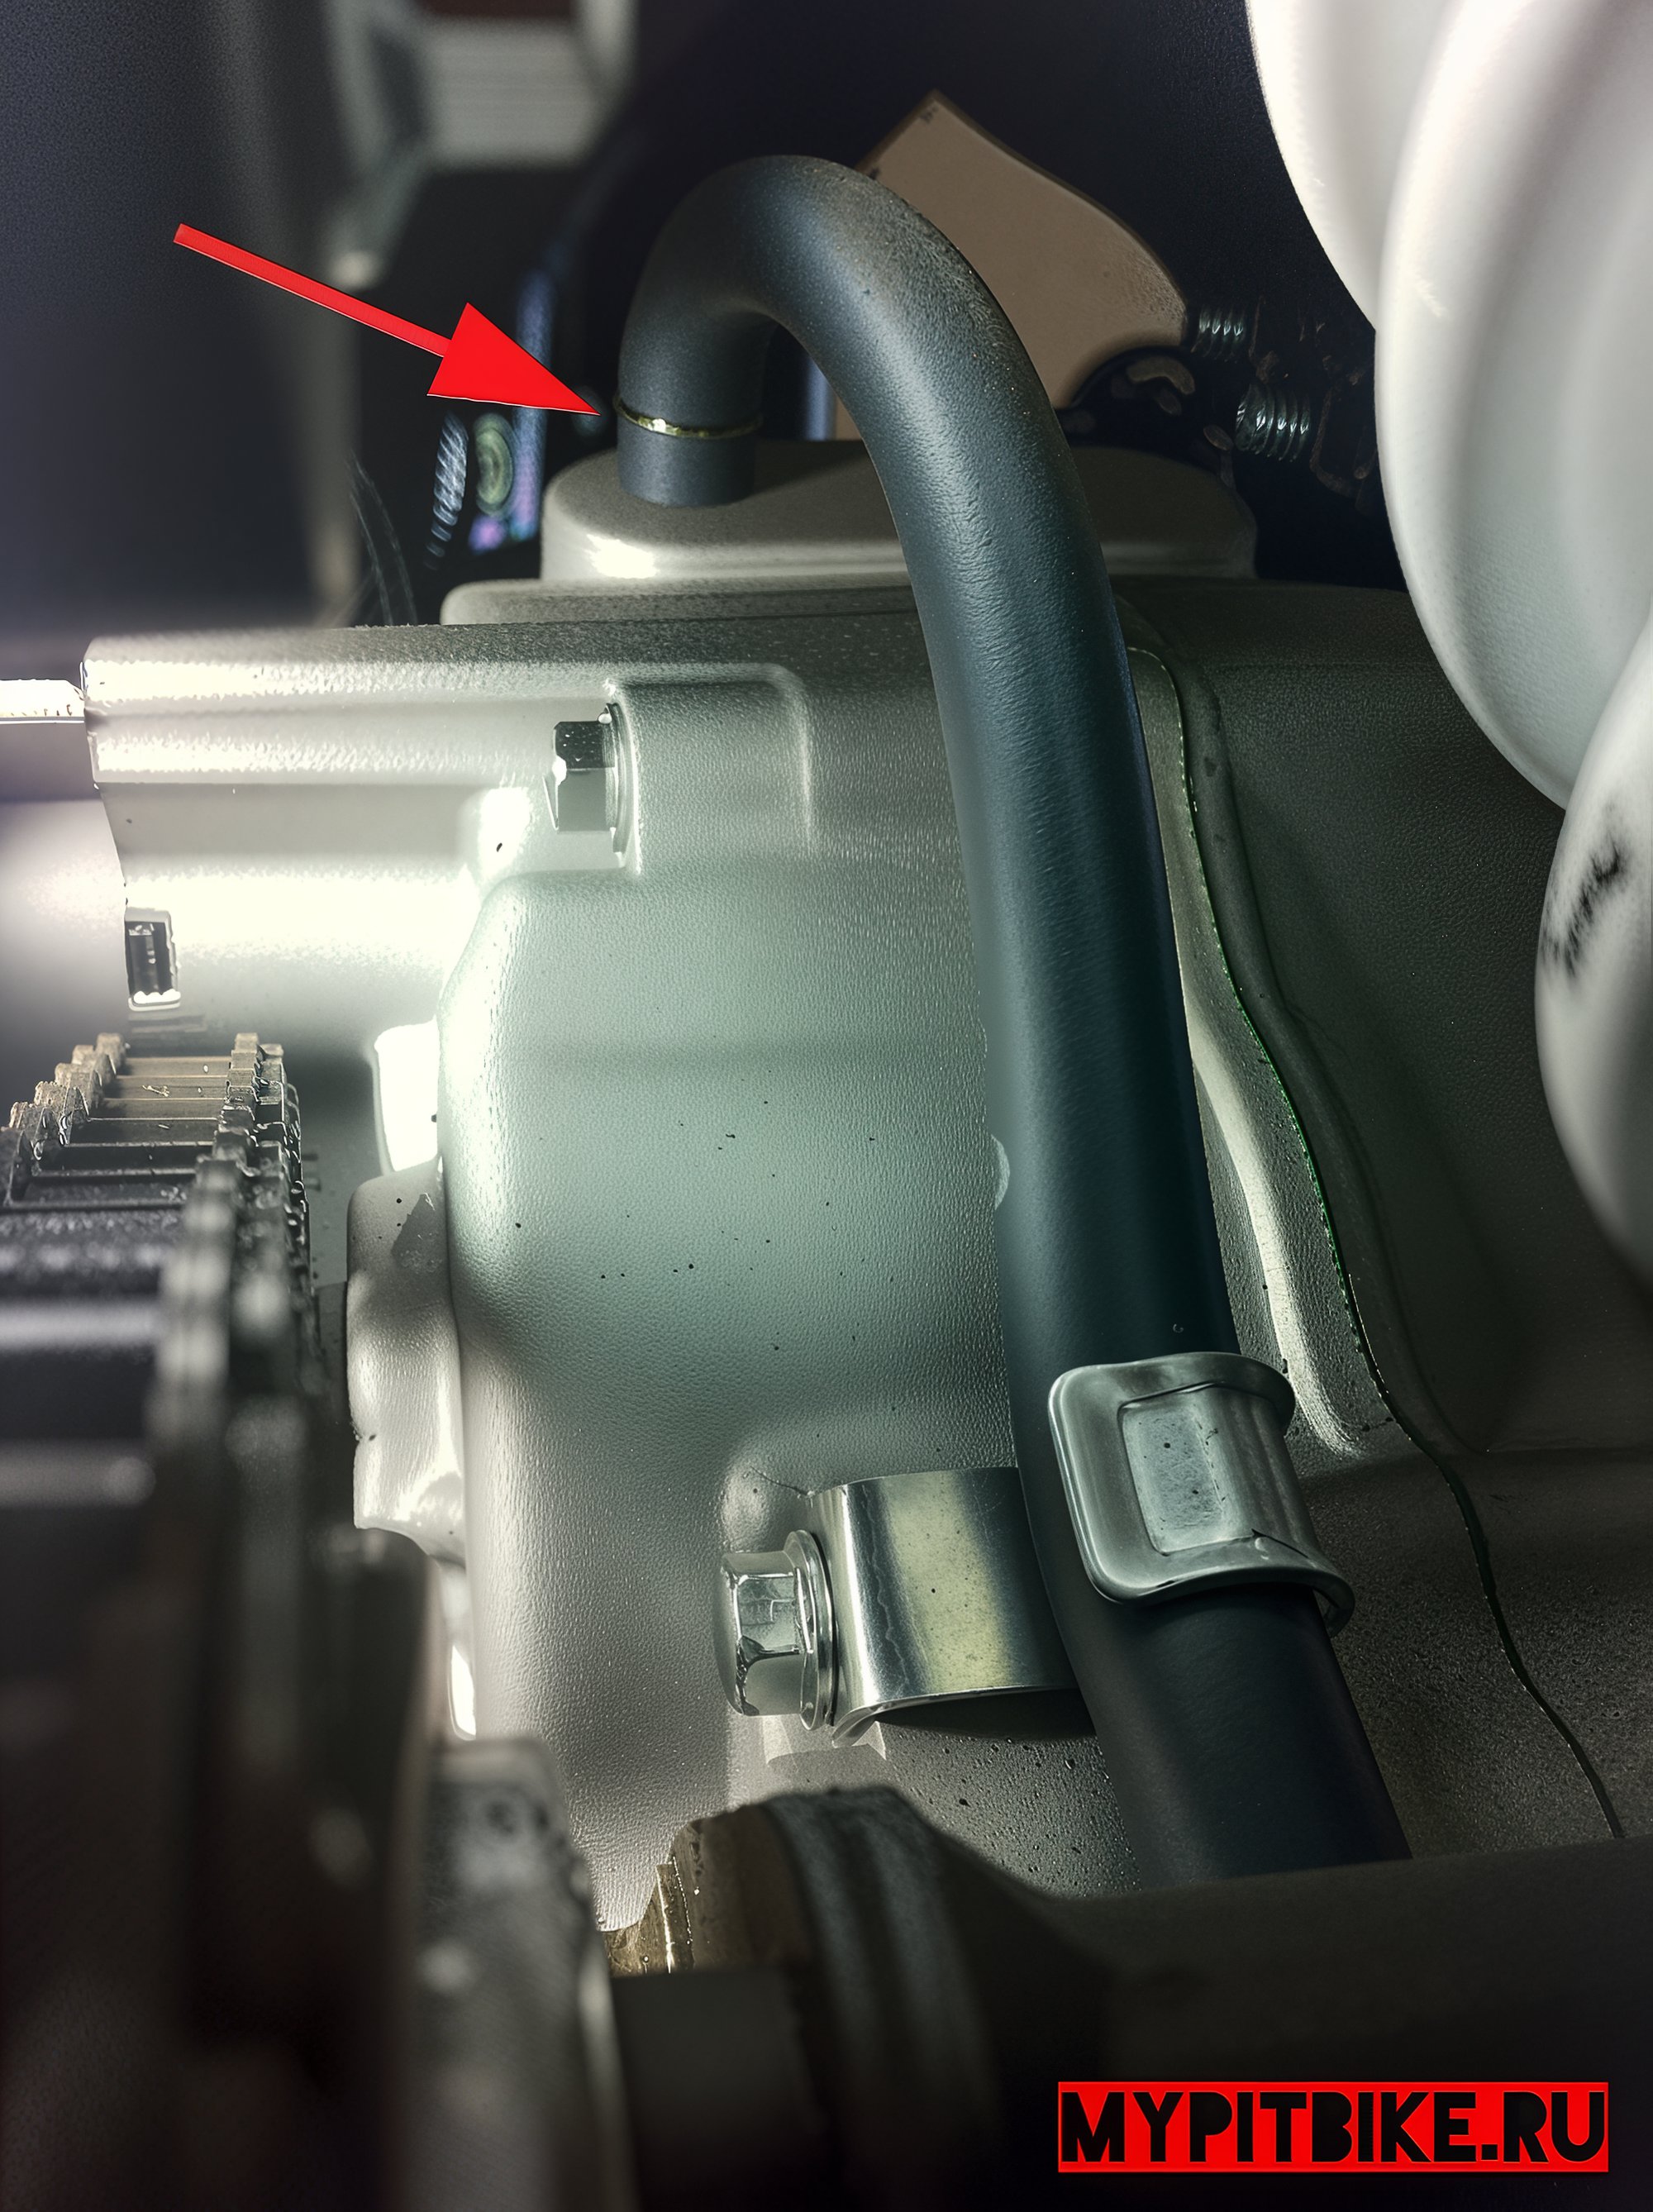
2. Breather Hose Check (Crankcase Vent Hose)
There is a black rubber hose at the rear of the engine, intended for crankcase gas evacuation. Ensure it is securely affixed to the engine, free of blockages or kinks.

3. First Engine Start
Start the engine without rotating the throttle handle beyond 2/3 of its range; avoid running the engine at high RPMs. Initial Engine Warming is recommended for at least 2 hours.
4. Maintenance after the First Two Hours of Engine Operation
- Drain the transportation oil and refill with quality motor oil recommended by your manufacturer
- Check the torque of all crucial bolts and nuts.
- Inspect the tension of the spokes on the front and especially the rear wheel. Tighten if necessary
- Adjust the free play of the throttle handle and clutch.
- Inspect chain tension. Tighten the chain if necessary.
- Inspect the wheel bearings for wear or unusual noises. The wheel should spin freely without visible jerking or play.
- Inspect the front and rear brake pads and the braking system. Bleed the brakes if necessary
- Check the spark plug gap; it should be approximately 0.6 – 0.7 mm.
- Inspect tire pressure.

Advice for Longevity of Engine Performance
- Avoid over-revving the engine, as this may lead to valve damage. If you detect a power drop or hear a distinct knock from the cylinder head, it is imperative to shift up or lower the engine RPMs.
- Ideally, conduct the above inspections every time you plan to ride your pit bike. Timely engine oil replacement is crucial. Each manufacturer specifies in the manual the operating hours upon which oil should be changed. We recommend oil replacement after approximately 10 engine hours.
- Do not shift gears without engaging the clutch.
- If the pit bike gear is not fully engaged, refrain from forcing it at high engine RPMs.
- Do not abruptly release the clutch handle; always aim to smoothly engage the clutch.
- Try to avoid completely filling the fuel filter with gasoline, as this can result from improper float adjustment in the carburetor or if the pit bike tips over on its side.
- Monitor the condition of the air filter; prevent it from becoming soaked with gasoline. In the event of incorrect or misaligned valve timing, the engine may misfire into the intake manifold, posing a fire hazard.
Troubleshooting: From Problems to Solutions
- If the exhaust pipe glows red, the mixture is too lean – adjust the carburetor by raising the needle.
- For engine misfires and stalling at medium to high RPMs, the mixture is too rich – adjust the carburetor by lowering the needle.
- If the engine backfires at high RPMs, the mixture is too rich – adjust the carburetor, lower the needle.
- If the kickstarter hits your leg during engine startup, the ignition angle might be off or the mixture too lean.
- If the engine is difficult to start and the spark plug is drenched with fuel, the mixture is too rich – lower the needle.
- Weak spark – possibly a damaged high-tension wire or poor ground contact.
- If there’s no spark – either a poor ground connection or a fault in the ignition block/generator/high-tension wire/spark plug. Use a multimeter to diagnose the issue.
- Overflowing carburetor – misadjusted float chamber level or needle/float blocked by sand or dirt particles.
- If the engine starts fine but stalls thereafter – potentially a disrupted generator winding or fault in the ignition block/high-tension wire/spark plug.
- Loud noise from the engine – valve clearances incorrectly set, adjust the valves.
- If the engine fails to return to idle, the throttle cable might be blocked or pinched.
Carburetor Tuning
Remove the spark plug and examine the electrode color; it should be a golden brown (brick hue). If the plug is white, the mixture is too lean (insufficient fuel). If the plug is black (sooty), the mixture is too rich (excessive fuel). If both white and black are present, the mixture is exceedingly lean, causing the engine to stall during operation. If the jets are correctly chosen, mixture adjustments can be made by raising/lowering the needle in the carburetor without altering jet diameter.
To enrich the mixture – raise the needle one notch. This involves removing the carburetor, unscrewing the throttle cable cap, extracting the slide, disconnecting the throttle cable, removing the needle from the slide, and shifting the clip one notch down.
Conversely, to reduce fuel mixture – lower the needle one notch (shift the clip up). After these adjustments, reattach the carburetor and continue testing, remembering to observe the plug color.
Once the desired mixture is achieved, you can fine-tune the idle screw. For engines with a 140 – 150 cc capacity, a richer idle mixture is preferred, providing smoother transition from idle to the main jet. For a richer idle mixture, turn the air supply bolt on the carburetor clockwise (toward the air filter). This may require simultaneous adjustment of the idle screw to maintain stable idle RPM.
Storage
Before storing the motorcycle, it is advisable to thoroughly service and lubricate all the necessary pit bike components. It is also recommended to empty the fuel tank and carburetor.